Ekco A22 Rebuild
-
1. Introduction
A few years ago now, I was fortunate enough to find locally an empty walnut brown Ekco A22 bakelite case. It was in excellent condition and I immediately bought it. My intention was then to look out for an A22 chassis or a complete set with a damaged case that I could pick up at a hopefully much reduced price and combine. For several months that.....
-
2. Restoring the chassis
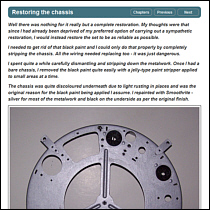
Well there was nothing for it really but a complete restoration. My thoughts were that since I had already been deprived of my preferred option of carrying out a sympathetic restoration, I would instead restore the set to be as reliable as possible. I needed to get rid of that black paint and I could only do that properly by completely stripping.....
-
3. Before and After
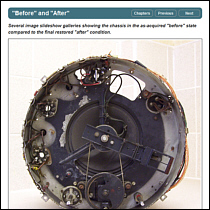
Several image slideshow galleries showing the chassis in the as-acquired "before" state compared to the final restored "after" condition.
-
4. Making a reproduction back cover
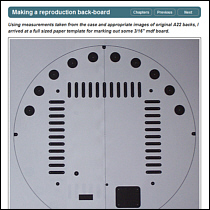
Using measurements taken from the case and appropriate images of original A22 backs, I arrived at a full sized paper template for marking out some 3/16" mdf board. This was cut, drilled and smoothed until I was happy with the finish, then given a coat of acrylic matt black paint. I made up some graphics again from images of original A22 backs.....
-
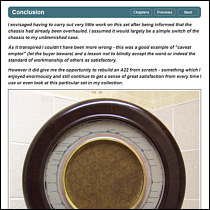
5. Conclusion
I envisaged having to carry out very little work on this set after being informed that the chassis had already been overhauled. I assumed it would largely be a simple switch of the chassis to my unblemished case. As it transpired I couldn't have been more wrong - this was a good example of "caveat emptor" (let the buyer beware) and a lesson not to.....
Copyright © Robert Darwent · All rights reserved · E&OE · www.wavesintheair.co.uk online since 2015